
Well, here is hoping we all still have electricity so we can work on this project in the wake of Sandy. As I write this on Saturday, praising the ability to schedule posts in the future so I don't leave you all stranded should we have a repeat of this fantastic hurricane nightmare, I promise that I already want to bop squarely on the head the next person who says "Frankenstorm". For the love of Pete, someone has to settle these meterologists down.
So assuming you have electricity to read this, here's your next clues to the big old mystery.
1. Retrieve the 4 strips you made in the last step of Part 1, the ones with the 4" piece of background fabric on the left and a pieced strip on the right. To the right of the pieced strip, add a 2 1/2" strip of background fabric to each. Press as desired. Which I am sure I am not going to make as famous as "quilt as desired" but as you recall from Part 1, for purposes of this project it just makes sense.
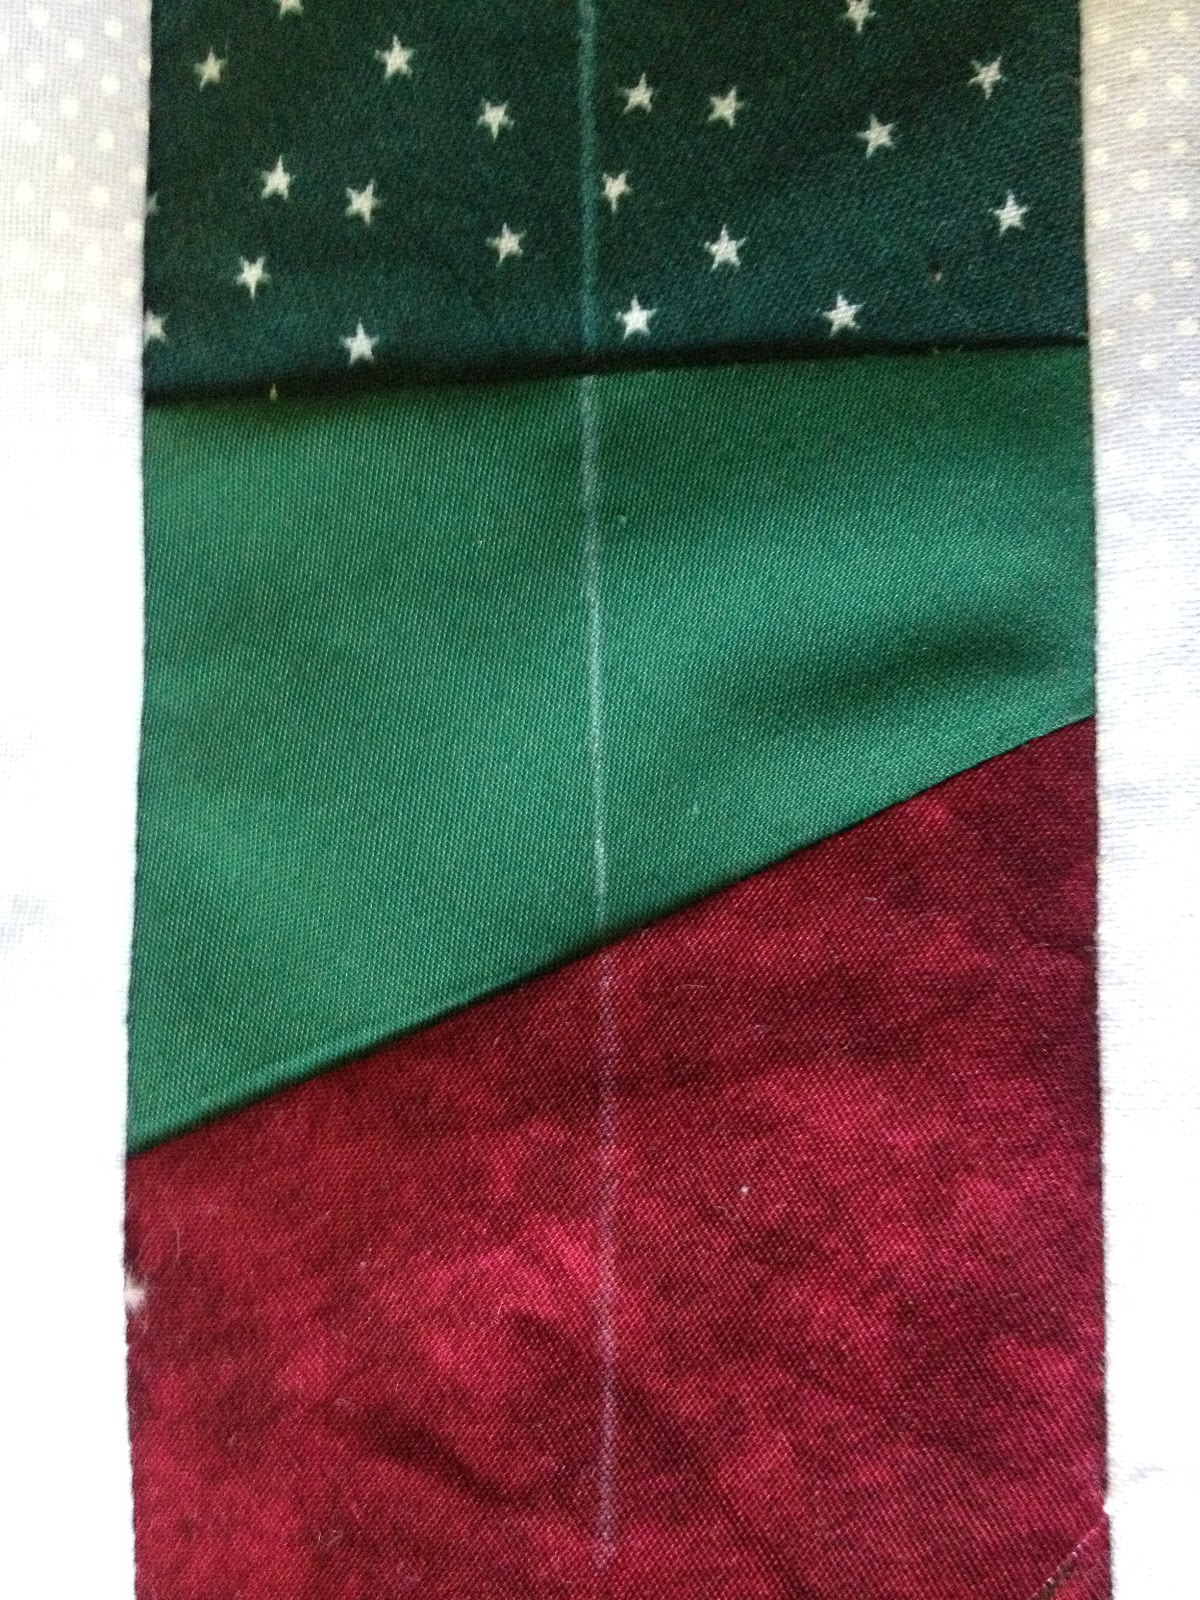
2. Retrieve your 4" x 1 1/2" strips from Part 1. Measure 3 1/2" down from the top right side of one of the background/pieced/backgroud strips you just made and make a mark. Line the top of a 4" x 1 1/2" strip at the mark, and sew it on, right sides together.
3. From the bottom of that 4" x 1 1/2" piece, measure down 5". Make another mark, and sew on your next 4 x 1 1/2" piece. See the photo below for clarification.

4. Continue to sew the next two 4" x 1/2" pieces on, 5" apart, until you have four small strips on the side of your pieced strip. See below photo. Repeat for each of the other three pieced strips.

5. Make a mark down the center of the wide pieced strip, 1 1/4" from either side. Put these units aside for Part 3.
6. Now go find your Fabrics A and B, from which you cut various amounts of 1" and 2" fabrics. If you did not see the correction in the "Mystery" tab, you may have cut too many strips, but so much better to have too many than too few.
7. Sew the three 1" strips of Fabric B end to end, creating one long strip. Press open seams, and slice the strip in half, so that you have two strips approximately 1" x 66".
8. Sew three 2" strips of Fabric A end to end, creating one long strip. Press open seams, and slice the strip in half, so that you have two strips approximately 2" x 66". Repeat for second set of three 2" strips of Fabric A. You will have four strips of 2" wide Fabric A total.
9. Sew a 2" strip of Fabric B to the left side of a 1" strip of Fabric A. Press as desired. Sew the second 2" strip of Fabric B to the right side of Fabric A. Press again.
10. Sew one of the 2" strips of Fabric A to the left side of a 1" strip of Fabric B. Press as desired. Sew a second 2" strip of Fabric A to the right side of Fabric B. Press again.
11. Repeat step 10.
12. You will now have three fabric sets which will look like this.

13. Lucky number 13! You are done! Go wallow in your awesomeness and see you next week. Don't forget to check out all the cool quilts at Amy's Creative Side this week and nominate your favorites starting tomorrow!
No comments:
Post a Comment