

But we must pull ourselves out of this cakeless funk and celebrate all that has been accomplished this month by so many quilters. Some DaGMT stats:
- Number of quilters participating: Somewhere around 80, up from 30 last year.
- Number of bloggers who linked to the linky page: 32
- Number of quilters who joined this year's Flickr groups and posted stuff: 31
- Number of Flickr groups there were this year because I posted the wrong link and some people used last year's group: 2
- Number of Flickr groups there will be next year: 1 if I do it correctly, 3 if I screw up again.
- Number of projects I personally worked on: over 10
- Number I finished: 5
- Number of times I had to change buckets to a larger one because the entry slips for prizes were overflowing: 3
- Number of prizes which will be awarded tomorrow: 22
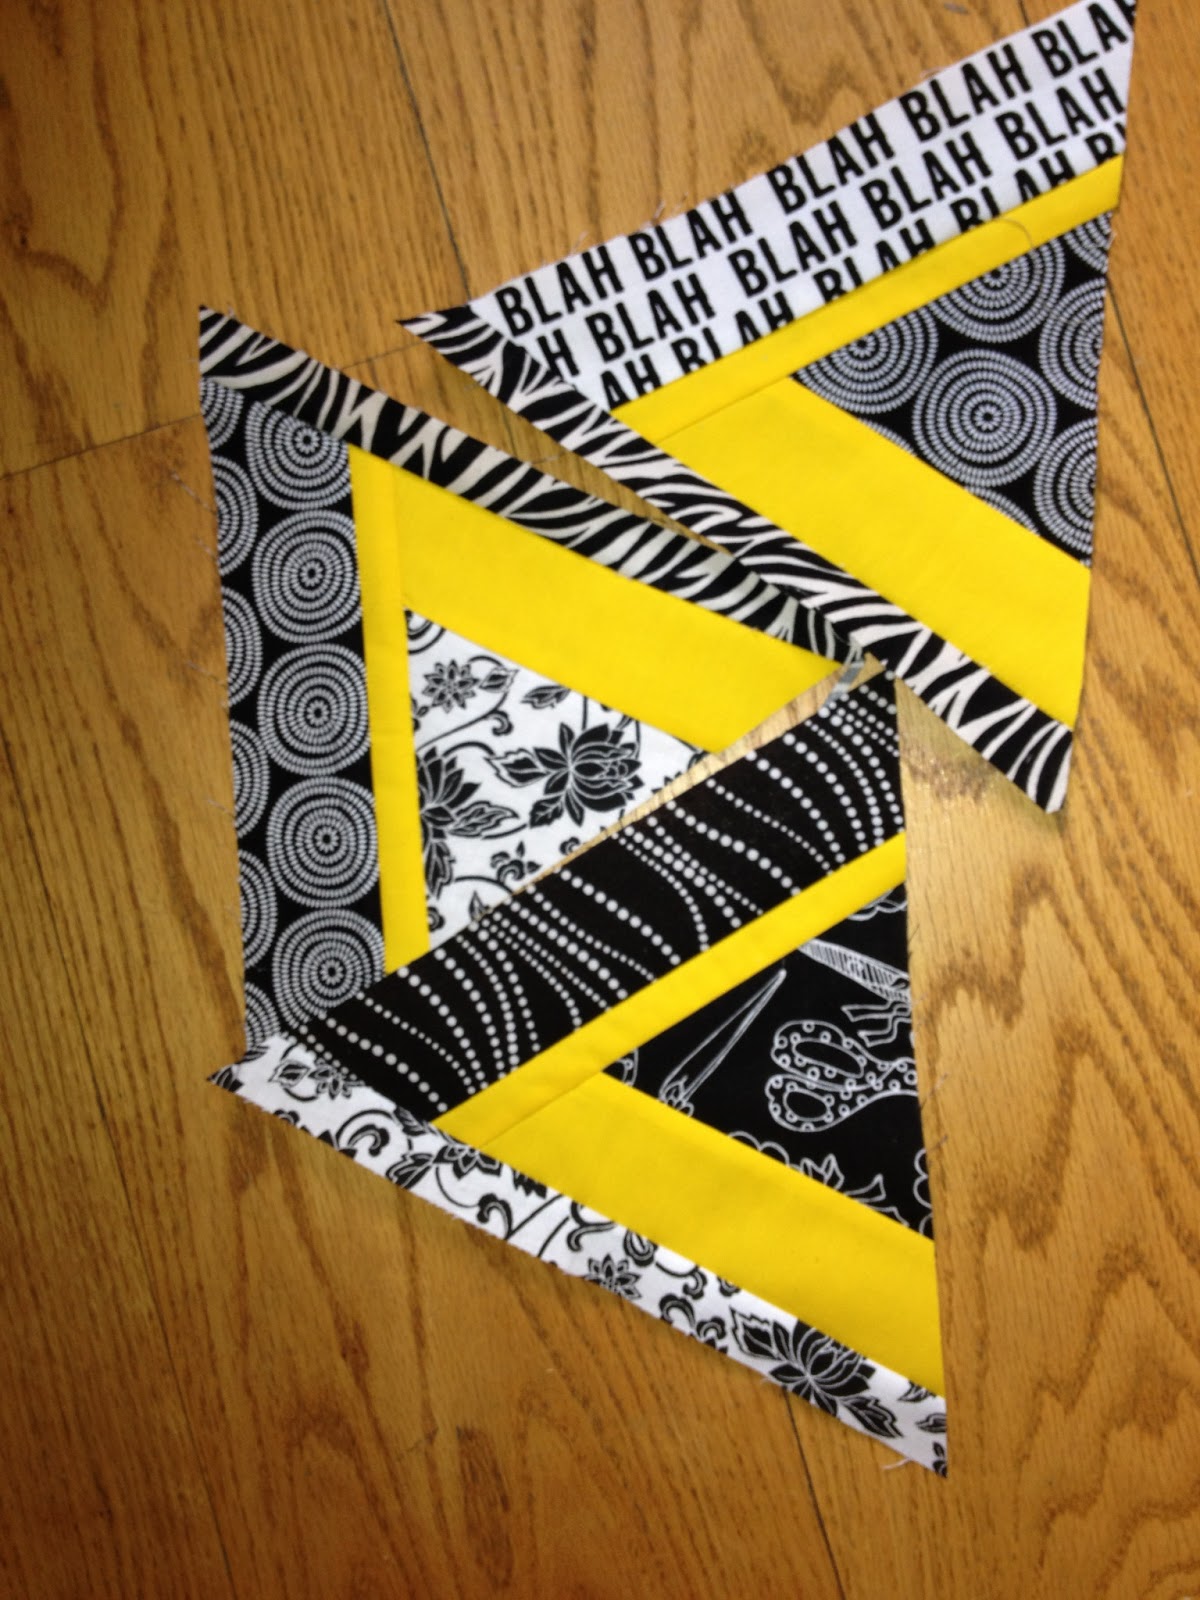
I promised a Sneak Peak, so here we go. "Taking Names", my new group project that has nothing to do with "Kickin' Stash" but I wanted to be cheeky with the name of the quilt, has been a big focus this month. I've shown you a few of the group blocks I have worked on for other members of the group, and I've started to get my own blocks back in the mail and I am loving them! Until the other day, though, I was still somewhat up in the air on how I was going to set them, but as I was playing a revelation came to me, and I just love it.
 |
| "Taking Names"block, copyright 2013 EvaPaige Quilt Designs |
Cake would be nice.
But in celebration of all of the UFOs you surely finished up, I am going to share a tutorial for a machine sewn sleeve that changed my life. Not, of course, to the extent that Jewel-it and the Binding Tool have done, but in minor quilting-related life-changing lessons and discoveries, it rates right up there with piecing battings into Frankenbattings, and deserves to be shared for those who may not know about this technique.
Don't you just love sewing a sleeve onto a quilt? I thought not. I know many people who have not bothered to put a quilt in a show because it meant sewing on a sleeve.We quilters just have better things to do, like fondling our fabric, planning the next project, and really pretty much just sitting in a silent room breathing, than make and sew on a sleeve. I was vending at a show several years ago and someone was demo-ing this method, which makes getting a sleeve on your quilt a quick and almost painless process.
1.We all know the best sleeves are those made from atrociously hideous fabric. I don't care how you make the actual sleeve for your quilt, but the first step is to find some horrific fabric and make one. Then pin it to the back of your quilt, about 1" from the top. Place the pins about 1/2" from the edge of the sleeve. That will make it easier for you. Note that I did not do that here, and therefore you are benefiting from my stupidity.

2. Thread your machine with top and bobbin thread that blends with the quilt front. Especially the first few times you use this method, you might get a thread or two popping through to the front, so disguise it. Set your machine to "Blind Hem", with about a 3.5 stitch width and 2 for length.
3. "Sleeve to the feeds, weight to the left." Ingrain this mantra in your head, make a sign for above your machine, embroider it on a pillow - whatever it takes to remember this extremely important fact. I promise you the first time you do this on your own without looking at this tute, you will do it wrong if you haven't memorized this. Please don't ask me the number of times I did it wrong.
Fold back the quilt to reveal about 1/4" of the sleeve and center the needle right where the sleeve and quilt come together. Sew slowly and carefully the length of the sleeve, attempting to keep the weight of the quilt from dragging the sleeve out of position. It's slightly harder than it sounds, but that's why we go slowly.
 |
| Setting it in the machine |
 |
| Sewing along the length |
5. When your sleeve is sewn, it will look something like this. See how the pointy parts of the blind hem go into the bulk of the quilt? When you do it wrong because you didn't embroider the mantra like I told you to, they will be going the other way and will suck.

 |
| Back view |
 |
| Front view - see? Nothing shows! |
 |
| She may not get a half birthday this year, but "Greta's Kaleidoscope" is finally on the wall. |


