Thursday, January 31, 2013

Quitcher whining, USPS.

It isn't MY fault you can't balance your books when I do all I can to keep you afloat with these group projects.

After the intense excitement of getting all of the packages of homework from all of my "Taking Names" participants in the mail over the last week, today was "Shuffle and Stuff" day. How highly convenient that my quilting machine is still sans operating belt so that I could use the 10' table as a staging area. As we can see by the DeWalt task light prominently displayed on the table, this is not for lack of my husband valiantly climbing up on the table and attempting to figure it out numerous times and then giving up and going off to fall asleep in his chair by 8:30pm, apparently hoping the answer might come to him in a dream. Sadly, it has not. Fingers crossed that the guy who promises to come out on Saturday to look at it knows how to get the thing on there.  But anyway, it makes a good surface for all those lovely packets I had to organize.

96 packets heading for 12 homes with a brief stopover in my studio.

I blame the fun of these blocks for preventing me from getting the quilting done on my topper I sandwiched the other day and desperately need to get done so I can finally check off my new pattern as DONE. Well, that, and I have to name the dumb thing still, but it's at the point where you know I'm just finding reasons to procrastinate. These blocks are a good reason right now.

I actually cleaned off my entire cutting table so I could work on these in an organized manner. Then I got all excited about a couple of the packets and had to start pulling fabrics from my bins and I messed it all up again.
Ten little packets, ready for the mail tomorrow! I hand delivered one, and I get one, so that's 10 for those of you thinking I had slipped (again) in the math department. If you are doing this project, watch out for your big old envelope in the next few days.

Tuesday, January 29, 2013

A Little DaGMT Jump Start

Three days to go before the official start of DaGMT, but I know I am not alone in jump starting my sewing because I see so many of you out there already bragging about finishing a project or two. Well then. La de da. I can do that, too. So there. And because I signed up for 90 minutes a day again this year prior to realizing that I was going away for five days in the middle of the month and that is a LOT of time to make up later, I'm making it up now. Two days down, three hours sewn. I'm feeling the thrill!

I personally have finished only one thing, the cover quilt for my newest pattern, which I will show you at some point when I get the photo fixed by my photo fixer woman. Yes, I have a photo fixer woman. It is amazing the leagues of minions one designer can amass, mostly out of necessity when one is as inept on the computer as I tend to prove myself.

But as many of this year's DaGMT participants have picked up on in their mission statements, the point of DaGMT is not necessarily to finish every UFO in your basket, but to make sewing part of your everyday life, and to celebrate the small accomplishments that bring your projects one step further along. So this morning I embarked on a "UFO Sandwiching" journey. You know, when you have a top, maybe a big enough piece of batting but probably not, and random bits of fabric that need to be pieced together for a backing, which if everything was the right size this would take you 10 minutes, but because nothing is the right size, it is going to take you an hour.

I love those journeys. They are kind of like a real life version of those dreams where you can't find your shoes and you have to be somewhere 20 minutes ago.

You know I am cheap, but I am about to prove it in a new and exciting way with this confession: Almost all of my smaller quilts contain pieced battings. By now my creations know it going in - if they aren't lap size or larger, they aren't going to get a solid piece of batting, and they are going to have to deal with it. Most don't complain too much, although now and then I get a primadona top that gives me a hard time.

For those of you who don't piece your battings and have never considered doing so but may be slightly intrigued, or for you newbies who have never even heard of such cheapness a thing, behold.

All you have to do is butt two straight edges of the batting up against each other and feed it through your machine using a blind hem stitch. I usually set my stitch width to about 4 and my stitch length to about 2 (I have a Janome something something - a mid range mid cost machine). Look how flat and smooth it is! And I haven't wasted any ends of batting!

If you need to, and I usually do, you can even trim off some from the end of your newly sewn piece and add it to the side if you made it too long but not wide enough.


 See? Still flat, still lovely. And remember - seriously, WHO CARES what the batting looks like???? If you have any skill as a quilter at all, you will not have ANY of it showing in the end.

So then it was time to move on to the backing. I had enough of my selected fabric to make a proper sized back, but it was in five pieces. Sigh. Some days you just don't set any speed records. Eventually, though, I was able to sandwich the three layers.

Note how I was able to sew the batting together in such a way that I made it fit perfectly even though it isn't quite square in that lower right corner. Or maybe that was a total streak of luck. I'll never tell.

Here I would like to give a shout out to spray baste. Believe me, it is not without a small amount of guilt for the state of the ozone layer that I proudly salute 505 basting spray, but man alive, the fact that I had forgotten I ran out of it last week almost reduced me to tears today as it meant I had to pin baste. I have not pin basted in about 8 years. I hope never to do it again after today, even if this was a small project. Just when my nails were looking pretty good, too.

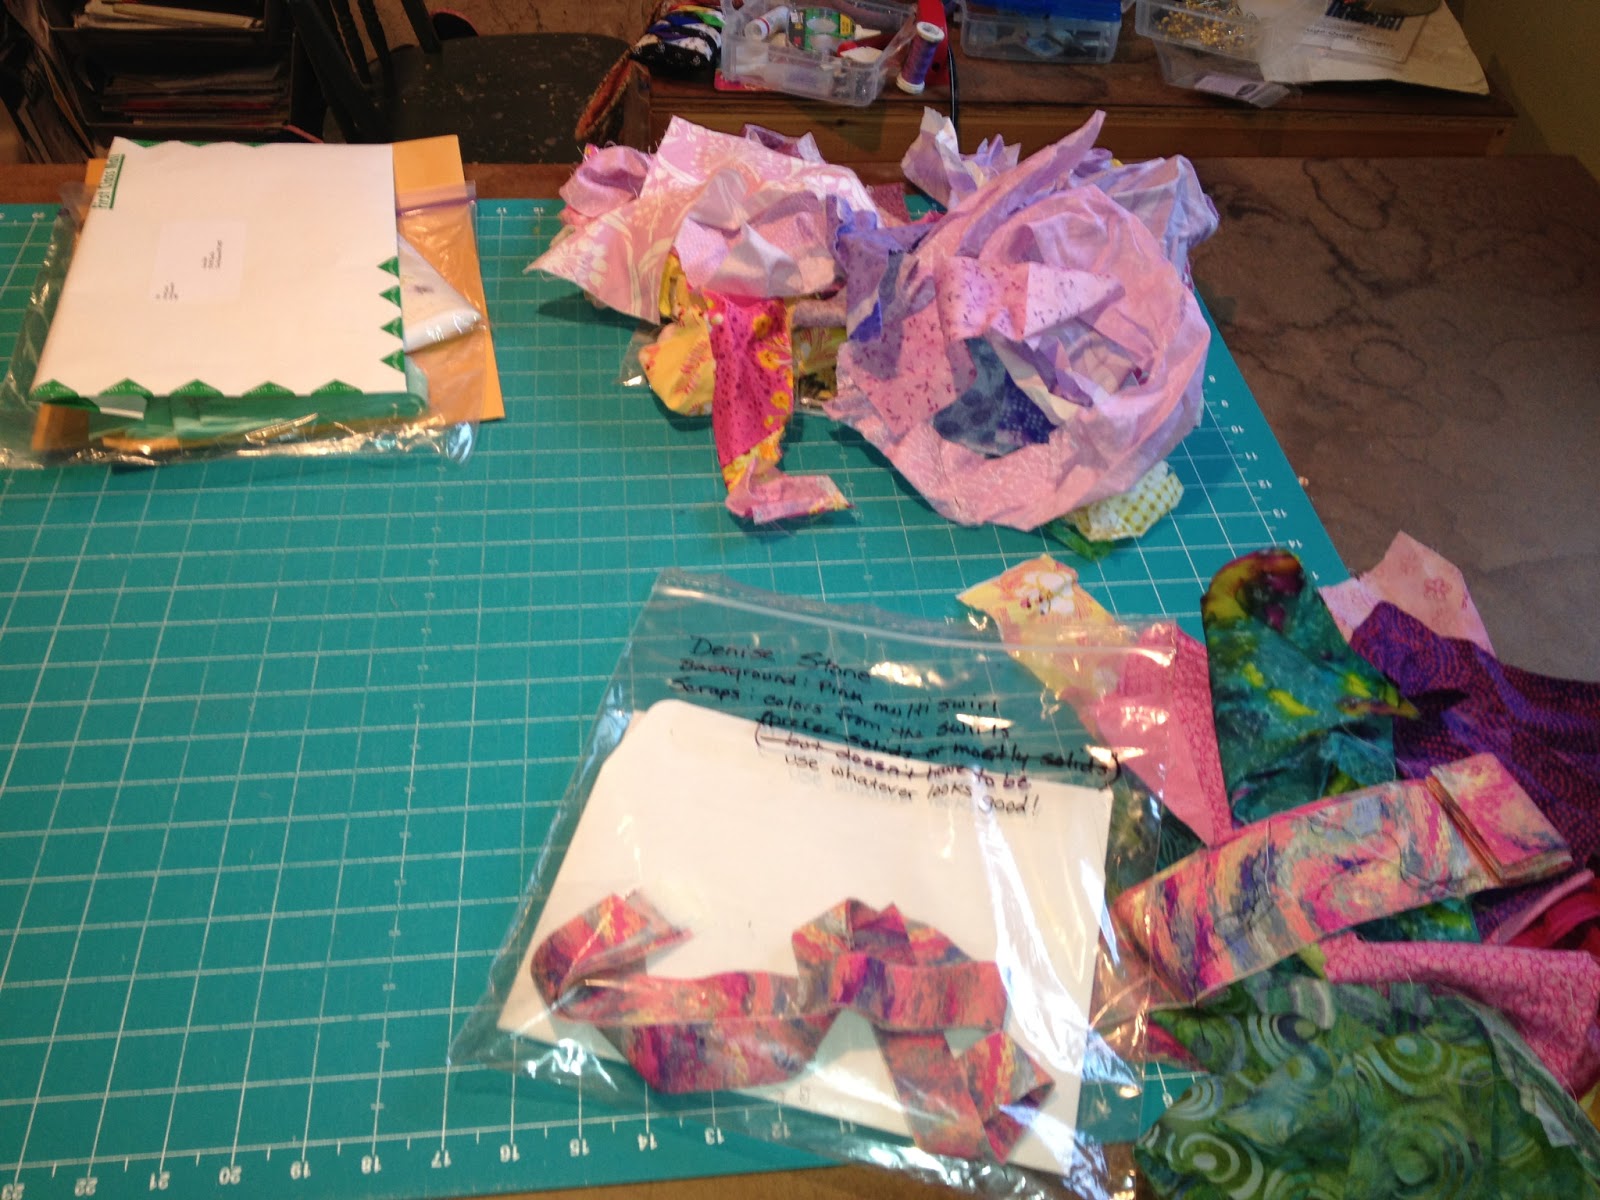
The "Taking Names" group project is underway, which means that I have a stack of projects in my studio that need to be sorted out to all the participants who will be working on other quilters' projects. But since I have all the projects in house and have to work on eight of them myself, I felt it would be okay to get started. So I made some for Angie using her red background and my b/w scraps.

I think they came out pretty cute.

Glen, who will be joining us in this endeavor, seems to have gotten all hopped up about the project too, because she sent me a photo of the blocks she made for her own quilt while waiting for her packet of other people's blocks.

I'm definitely sensing a b/w sort of theme going on here. Although Glen wanted greys as well. Very cool!

In honor of so many people starting their DaGMT-ing early, including myself, I have the 2013 flickr group open for business. So go ahead and start posting your photos of projects you are hoping to accomplish in February as well as any you may have started already.

Are we all just tingling with excitement?


Thursday, January 24, 2013

Kickin' January's Stash

Traditionally, there are two times a year in my EPQD life when I overextend myself: September, when the girls are back to school and I can throw myself back into the design and lecture world full force while taking at least 15 minutes a day to happy dance that I am finally able to accomplish a few things each day again, and January, when I am simultaneously marketing and organizing DaGMT and a new group quilt. This January I decided to throw in the last 5 steps of the 359 step process that is getting a new pattern out the door as well, and of course those last 5 steps generally are more painful than all the rest put together.

I also still have a broken belt on my quilting machine to contend with, but for now I am using the "Ignore it and it will go away" approach. I'll let you know how that goes.

So it's been a bit of a crazy month, but I just keep whacking away at the calendar bit by bit and celebrating the excitement of watching my projects all come together.

Yesterday was an especially exciting day, as I received in the mail the first two packages of kits from my 15 or so participants for my "Taking Names" group project. Not only did both participants completely outdo themselves with doing every single thing correctly, but I am cracking up that they both chose a solid for their background and black/white for their scraps. It's like they are twins separated at birth.


I also had several more people join in for DaGMT yesterday, all of whom "linky-ed up", and I'm really starting to see that DaGMT button take over blogland. So exciting. Thanks to Cinzia, whom I believe is in Australia, we are now global. It's just a little bit of a rush.

Now, I know I promised you all a gorgeous, glorious spreadsheet of epic proportions to keep track of all of your entries. I have decided to go another route and I hope you can adjust your thinking accordingly.

Look at that highly technological method of organizing entries. As you can see from this glimpse into my computer area workspace, right next to my laptop, where I spend an hour or so each morning answering emails and checking in on work related stuff, I have placed a Tupperware container from 1974, along with strips of paper and a pen. Every time someone enters, comments on blogs and tells me about it, or posts the blog button on their own blog, I write their name down on a slip of paper and throw it in the container. Sometimes the simple ways are still the best ways. I'll draw names for prizes on 2/28 out of this, or more likely a much larger container as I am almost out of room in this one already.

Yesterday I also had a moment of sheer brilliance when in machine quilting, I think I avoided for the first time ever accidentally quilting in any obscene shapes. So yay me! I didn't avoid bodily injury, but you take what you can get. Here's hoping today is as productive.


Tuesday, January 22, 2013

Round Robin in a Day With the Seven Hour Wonderkinds of Amoskeag


This past Saturday I had the honor of running my "Round Robin in a Day" workshop for the fine ladies of Amoskeag Quilt Guild in Manchester NH. It was a seven hour odyssey of quilting craziness, and as always, I left completely inspired by the awesomeness of these ladies. They begged me to write a post about them (and by "begged" I of course mean "asked with great trepidation if I was going to mention them by name on my blog"), and being the people pleaser that I am, I of course said I would leave off last names.

I've taught in many locations - church halls, library meeting rooms, community centers, senior centers - but this one will likely go down as the most unique. It was a classroom at a nursing school, so we had a few students I wasn't expecting. They were pretty quiet, but man were they lazy.

There are no further words.
I have to say I was slightly freaked out by them at first, but I did manage to get beyond the weirdness. Since the members of this guild always have workshops here, they were used to it, although they did mention that there was one time they had to cover the dummies up completely as one class participant was pretty shaken by them. The whole thing was rather amusing, but I digress.

This is one of my favorite workshops because it proves one of my tenets of quilting, that when armed with six hours and hopped up on a triple espresso worth of caffiene, quilters can go from an 8" center block to a 30" wallhanging in one day. The short version is this: Everyone brings a center block they have created and about 4 yards worth of fabric from their stash that they would like to see in their quilt. The center block and fabric are given to someone in another "pod" (more on that below) so that they can't see what is going on with it, and a 4" border is added. Then after 1.5 hours, the quilt moves on to another quilter and a second 4" border is put on. Finally a third quilter puts a 6" border on, and then we do the big reveal and everyone goes home with a completed wall hanging.

The ladies were set up in three pods of quilters, and everyone started with a center block that came from another pod. Each block then moved about within that pod for the duration of the day. That way the quilters in the pod will, in a perfect world, be unable to see their own quilt all day. Of course people cheat (Danielle and Judy). And now and then you see things you shouldn't when you are at the ironing station (Diana). But most of the time you are too busy creating to worry about what is going on with your own quilt.

Pod #1 hard at work, Donna #3 dancing in the background.
When I run this class, if everyone doesn't seem stressed out enough over the time limits, I love to up the challenge by having them pull out of a basket (or in this particular case, a rubber glove box) an element or technique that needs to be included in the first two rounds. For the first 4" border, we drew "strip piecing", and I love how simple and elegant this strip piecing turned out.

Is it any surprise there were several fall-themed quilts in the New Hampshire bunch?
The strip piecing didn't have to be fancy, it just had to be strip piecing.
Nancy was thrilled that Donna #2 was able to use up the small amount of her orange/yellow/brown print in the first round as it was one of her favorite fabrics ever.
But Diana couldn't help herself and went a little crazy.

Two centers were bunnies. We put them in separate pods so as to avoid having four to eight by the end of the day.
The next round was to include half square triangles. People really had fun with this one, and once again HSTs proved themselves to be one of the most versatile blocks in quilt design.
The black just totally popped this quilt, which started out as Donna #1's simple NH-inspired panels and ended up crazy awesome.
Yvonne (not Y-vonne) was one of our newer quilters, but was always among the first ones done with each round and did a fantastic job. She was in the process of making her HSTs into a star pattern around the center when I snapped this photo of her mat and her foot.
It isn't your imagination, that fabric really does look like a dress my mother wore in the early 70s.
A truly great thing about this class is all the fabric sharing which goes on, especially once you get to the final border, which is quilter's choice and is meant to tie the entire project together. Cathy and I dug around everyone elses' fabrics and finally found the perfect orange for a skinny border strip.
Cathy's bedside manner is delightful, don't you think?
As the quilts were finished, we lay them on a bed. Because we could.
By 3:30, it didn't seem all that weird anymore.

Everyone was delighted with the final projects, which is great because I really hate when people start crying, gnashing teeth, and yelling "You RUINED my quilt!"

Judy was done first. Her simple borders were perfect for this quilt, which Danielle plans to add some applique onto for good measure.

The red border was borrowed from another quilter to "tone down" this quilt.

Picture the acorn right side up, and you will see one of my favorites as it is meant to be seen.

Love this. So much. I almost wanted to be Sandy so I could take it home.
Ten smiling quilters, all of whom survived my reign of terror and whip cracking and went home with a gorgeous creation. I am so proud of them all!


Thursday, January 17, 2013

Time to Take Some Names - Group Quilt 2013

I apologize to anyone who just fainted dead away to realize the 2013 Group Quilt project, much hinted and teased at mercilessly over the last few months, is finally ready for participants. I sure hope someone can find you some smelling salts, because I don't want you to miss out.

A bit of a sneak peak:


Man alive, this one almost killed me. I feel like I say that a lot. I think what it is is that because I am a "see it in my head, transfer it to fabric" designer, there are so many places between vision and reality where things can get completely snafu-ed, and if such a place exists, oh you know I will find it. Add in that this particular project looks NOTHING like what it started out as in my head, and this may go down in history as my craziest design process yet.

And it really has only just begun.

Every time I run one of my group projects aka "Duping Testers Into Thinking They Are Just Making a Quilt When In Fact They Are Testing My Directions As Well As Making A Quilt For My Plays Well With Others Lecture", I start out by thinking "How can I make this mutually beneficial to both myself and my minions?", and I'd like to think that I am improving it for the minions each time. For the first crack at a group project, you were all given the opportunity to make some blocks for me and have a thank you in my pattern. Wow. How very generous of me.

The second and third times I took it up a notch and had you make me some blocks, and make several more to be swapped among you so that everyone ended up with a little "quilt starter" as well as the final pattern at the end. This was very well received by all who participated, and I love that one quilter even told me it all reminded her of "that friendship bread starter everyone had at the back of their refrigerator in the 70s".

This time I'm going all out. Not only will you get blocks to start a quilt of your own, you will get enough blocks for an entire twin sized quilt top. I am slightly nuts, I know, but I'm so excited about this and I hope you will be too.

In short, each participant will  choose a 2 or 3 tone color scheme, provide background fabric, and will make 9" (finished) scrappy triangle blocks for 8 other quilters between 2/1 and 3/5. One set of triangles can be knocked out in about one hour, so in total the sewing portion of this project should take you about 8 hours, and I am giving you 5 weekends in which to accomplish this.As you can see, I have chosen lime green for my background and black and white scraps for my other fabrics.


Don't be scared of bias. These triangles are ALMOST all straight edge!


Some things you should know before declaring your intent to participate:

1. You will need to buy 3 1/2 yards of background fabric. Or find it in your stash. Either way, you will need it to participate.

2. Before you can start sewing, there is a modest amount of prep work (details outlined in the actual directions) which involves preparing kits of background fabric for each other person working on your quilt. So yes, you will have to buy background fabric, and then cut 48 strips (24 2" wide, 24 1" wide) out of it. That should take you about 30 minutes tops if you aren't drinking at the time. This prep work needs to be done and in the mail to me by 1/28/13 so that I can swap projects around and make sure everyone has 8 other people's quilts to work on .

3. Which brings us to the mail. You will be required to spend about $15 - 25 in postage costs, which will include one USPS Priority Mail flat envelope (5.15) and sending the finished blocks to 8 different quilters. I know you are thinking "OMG, why isn't SHE spending that money," and I assure you I will be spending at least $100 shipping you each your packets of projects to work on, as I will be using USPS Priority Mail as well.  I learned during "Diamond Dazzle" that these projects can cost me a fortune in postage, and unfortunately I need to share the burden a bit on this one.

4. You will also need8 ziplock-style gallon sized bags, and 8 manilla mailing envelopes.

5. The scraps for the quilts you will work on will come from your stash; you may have to augment here and there, but if you tell me what kinds of scraps you are drowning in I will do my best to match you up with like minded individuals.

So I am hoping I didn't scare you off! This will be monetarily and time commitment wise a bit more involved than my previous swaps, but since at the end you will get enough blocks to put toether the entire quilt, I hope it doesn't seem too out of line.

 Because of the scope of this project and the strict timeline, I am limiting the participants to 20, and am hoping to get at least eight so that we can all get a twin sized quilt.

I'll be happy to forward the official guidelines to anyone who might want more information, so just contact me at evapaigequilts@charter.net asap!


Tuesday, January 15, 2013

My Drop and Give Me Twenty Commitment

The "Drop and Give Me Twenty" linky is now open, and has even been tested for user-friendliness. I am happy to announce that no bones were broken when I fell out of my chair upon realizing I had figured it all out on the first try.

So if the linky is now open, I should probably be the first to officially enter my own event, and show you exactly how it is done, so this blog entry will contain my officially worded entry statement, after I bring you on a tour of my UFO pile.

Things to consider when looking at this photo:

1. This is a small sampling of the UFOs from my UFO basket.
2. The youngest is a month old, the oldest is 4 years old. They range in size from table runner to queen.
3. There is a couch under there.
4. I would like to quilt them all in February, provided I get the damn belt on my quilting machine fixed.
5. I likely will not succeed at this task, but I'm willing to give it a go.

Look what else I found in my UFO basket, which you can see a smidgen of to the right of the couch in the photo.

That would be a Christmas gift - To Me! Yay! - that apparently fell into the basket a month or so ago and was lost in the piles of insanity. It explains a cryptic message I received from my father the day after Christmas about how to use the hot pad they had given us properly, when I had not in fact received a hot pad. My UFO basket had received a hot pad. I am now thinking of putting the UFO basket in charge of Wednesday night dinner.

And a little sneaky peek - My main February project will be working on and continuing to write this new pattern, which will also be the basis for our next group project. Details coming later this week or I am giving up.


I also needed to show this, the most perfect clock EVER to have in my sewing room for this event, given to me as a gift by my friend Angie, who bought one for me and one for herself with DaGMT in mind. You have to love a friend who is all about "one for me, one for you."

I mean really, it could not be more perfect. An actual clock on the top, and a timer on the bottom, so I can set it and not allow myself to unchain my butt from the sewing machine until it starts chiming at me. Brilliant! We all need an Angie in our lives.

So, without further ado, my official DaGMT statement:

"I, Beth Helfter, founder of DaGMT and therefore possessing no good excuse not to participate, do pledge to actively sew for at least 1 hour and 30 minutes per day for the entire month of February. In doing so, I hope to complete 8 UFOs and make serious forward progress on "Taking Names", because how awesome will it be to make Kelli Fannin and myself wear aprons or shirts or something at market that say "Quilting Hotties Kick Stash and Take Names"?"

The 2013 Flickr for all participants to upload photos of their progress will be up and running on 2/1/13. I'll be sure to let you all know when it is ready to go.

Inspired to join? Head on over to the linky party and link up to your own statement on your blog or social page. I believe it works for any web address, but if linking to something other than a blog doesn't work, go ahead and just enter your statement in the comments section of the DaGMT page and I'll consider you entered for the prizes! Don't forget to grab a blog button for your own blog for an extra entry.


Monday, January 14, 2013

Adventures in Sewing Machine Repair, Part 2

I don't know about you, but I am thinking I may have been right with my hypothesis, based on flying globs of rubber and needle stops and starts that my belt was shot.


Have you ever seen such a sad state of beltage?

The sadder thing still is that I have no idea how to get the stupid thing off. Here's hoping the husband has a clue. And thank God for my other machine.

Thursday, January 3, 2013

Adventures in Sewing Machine Repair

So as many of my facebook followers know, I bought myself an early birthday present in November of a Professional Free Hander 99E industrial sewing machine/quilting machine/reason to have to rework the entire studio to find 8 feet of work space. Just yesterday, two weeks after said birthday, I finally had the chance to see if I could try it out. Sounds about right for my life.

So this is what I, the self proclaimed technological loser, was to conquer in one afternoon.


 Let me start by saying the machine is an older model. "Older" in this case meaning "that which is no longer made by a company which no longer exists." But thankfully, the woman I bought it from had kept every scrap of paper and doodad ever associated with this machine, up to and including an empty Priority Mail envelope from the company she bought it from, so I although googling "set up your Professional Free Hander video" did no more than make Google laugh audibly at me, I was armed with as many old fashioned resources as I could possibly get, so onward I soldiered.

The instruction booklet was written in 1997 without benefit of Photoshop, graphic design, or apparently an editor. However it was rife with graphics like these:
 
which I am taking to mean "Even a baby can do this, you idiot! Stop whining!" and "When all else fails, put your head down on your 1980s style desk and play the popular 3rd grade game of "Thumbs Up" until you feel better" respectively. It also contained helpful hints such as "Install in a protected location where no one can step on or trip over the power cord, so that the power cord will not be damaged." Screw you and your possible twisted ankle or broken neck - keep that power cord safe at all costs!

For all its entertainment and amusement value, I will say that the instruction booklet was written in a very friendly, encouraging manner, and for someone like me who looks at such a project and walks away for 8 weeks before tackling it for fear of failure, that was terribly refreshing. So I forgave the excessive use of quotation marks where they were not necessary, but not so much that I could let it go without mention. By following the very explicit and basic step by step instructions, even I, technological nightmare of vast proportions, got it working.

For like 12 seconds.

Then it bound up or something. So I stepped on the gas harder, because my 3 tickets and 5 warnings will tell you that is what I do when I drive. It started up again.

All of a sudden I was being pelted by bits of rubber.

Some almost as large as a ladybug. OMG! What was happening? The book did not warn me that I might put my eye out from flying rubber, but even if it had I'm sure that it, like the power cord warning, would have been written in favor of the rubber.

A quick inspection showed me that the drive belt is totally and completely toast. And yes, I do feel really cool because I was able to figure that out all by myself.

Then came the panic - if the company is out of business, how do I get a new one? Here I need to shout out to the filing system of the woman I bought it from, as in among the empty envelopes and random scraps of paper I found a replacement parts order form, which at least had a model number on it. I googled the belt number, sent up a prayer, and OMG! They still make the belt! They meaning another company entirely, but my joy was palpable as there was no way I was going to have my husband remove this:


from the studio unused after the beeyotch of a time we had getting it in there in the first place and remain married.

Why yes, that is a roll of paper towels and a wrench off to the right. Let the record show the instruction booklet did not mention the need for these items.

Today I received confirmation that the belts are on the way (I ordered two just in case) and I can't wait to see how much fun it will be to tear the workings apart and install a new one! Here is hoping the installation does not necessitate another blog post.


Related Posts Plugin for WordPress, Blogger...